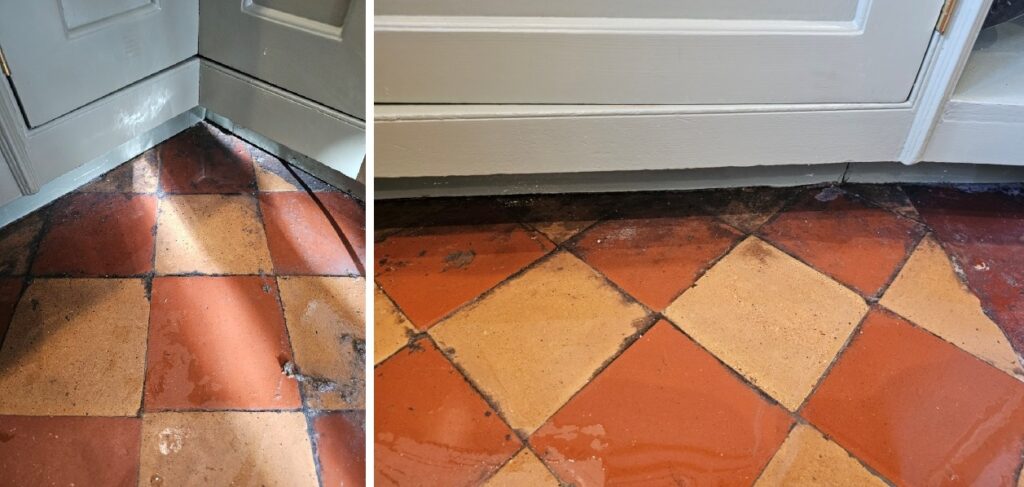
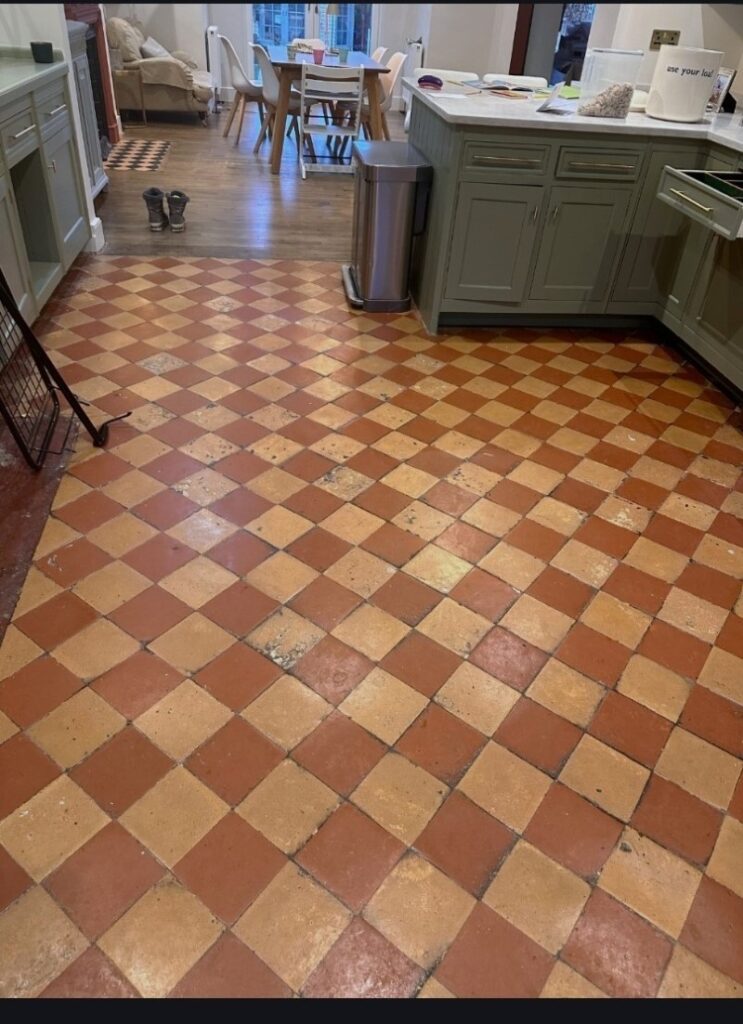
This Orange and Red Terracotta tiled floor at property near Richmond was absolutely filthy and proved to be a real challenge to get clean. It clearly hadn’t been professionally cleaned for some time and when I went to do the survey, I could see a build-up of grease and old sealer throughout.
Due to its porosity Terracotta is particularly vulnerable and to keep its appearance the sealer needs to be maintained correctly as it will wear in the busiest areas with use. In this case I was able to re-assure the homeowner that I would be able to strip off all the old layers of sealer, deep clean the tiles and re-seal to leave it looking like a new floor.

Happy with my quote I got the go-ahead and we agreed a date to start the work which should take two days, one to strip and clean and the other to seal.
Removing Sealer and Cleaning a Terracotta Tiled Kitchen Floor
To strip the sealer off the Terracotta floor I applied a strong dilution of Tile Doctor Remove and Go which is a powerful alkaline coatings remover that’s safe to use on Tile and Stone. The solution was sprayed on to the kitchen floor and then left to soak in for fifteen minutes to give it time to break down the sealer and soils.
I then inspected the floor and could see a lot more work would be needed to get it completely free of old sealer and dirt. As a result, there was nothing for it but to get down on my knees scrapping everything off the tiles with more Remove and Go. I found most of the old sealer and grease just flaked off but some areas were difficult. I had some assistance from a DeWalt handheld buffing machine fitted with a stiff brush but it was still very hard work, especially around the edges of the kitchen as my hands barely fit underneath the units.
After about six hours I was satisfied everything was removed and I could turn my attention to the grout. For this I hand scrubbed the grout lines using a strong dilution of Tile Doctor Pro-Clean rinsing and extracting as I went.

Last step in the cleaning process was to treat the tiles to an acid wash which will further clean the tiles and equalise the floors pH level after the use of alkaline cleaners earlier. I used Tile Doctor Grout Clean-Up for this which was first scrubbed in, then rinsed with water and extracted as before. The floor was rinsed down again two more times with water to remove any trace of product. I used the wet vacuum used to extract as much moisture from the floor as possible so it can have a better chance of drying out overnight.
Sealing a Terracotta Tiled Kitchen Floor
When I called back seal the Terracotta, I first checked the moisture readings in several areas with a damp meter to verify the floor was nice and dry. All was well so several coats of a Tile Doctor Seal and Go Extra were applied to the floor allowing forty minutes drying time between coats.
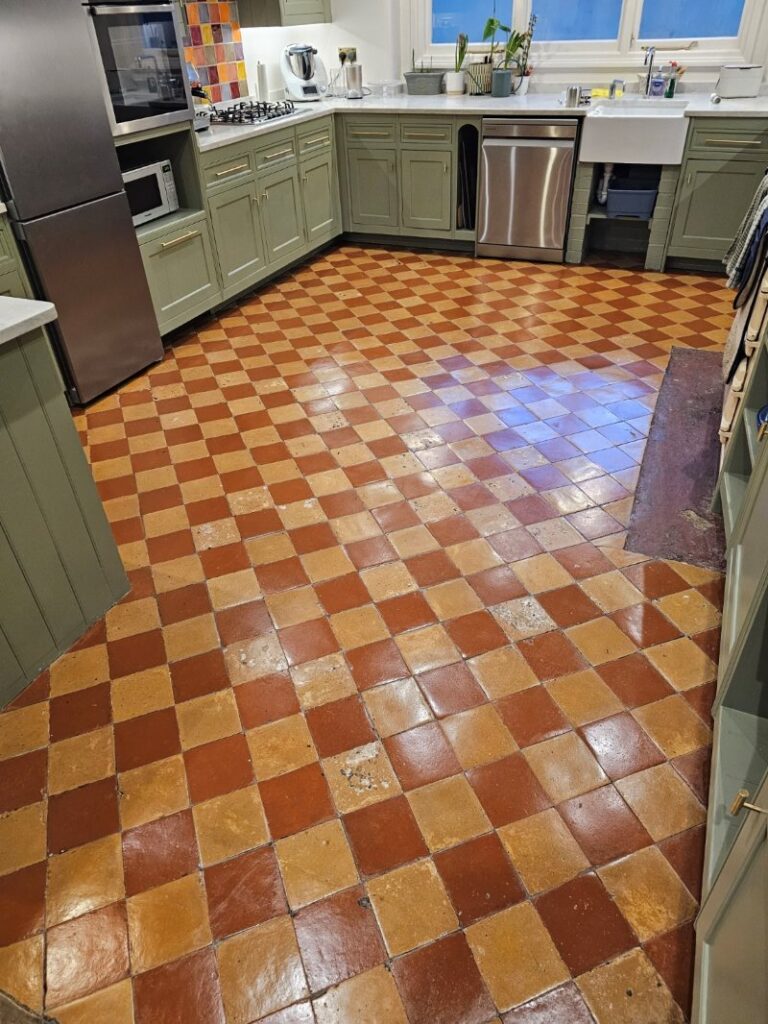
The new sealer left the now clean Terracotta tiles with an attractive mid satin finish and
looked fantastic and was doubly improved by the grout cleaning which had responded well to the Pro-Clean. The customer was very pleased with the transformation in their floor which now looked clean and bright.

Before leaving we left the customer with a bottle of Tile Doctor Neutral cleaner for aftercare. To get the best from their Terracotta tiles it’s important that customers use the correct product for regular maintenance cleaning from the start, stronger products will reduce the life of the sealer.
Source: Terracotta Floor Tile Cleaning and Sealing in Richmond South London
Tile Doctor has a range of sealers that cover all types of finish and situations. If your not sure which product is best for your tiles do call our helpline on 0345 512 0122 to discuss.